
The Benefits of Worms in Home Recycling and How to Care for Them
(Text Drafted with AI Assistance)
Recycling is a key part of reducing waste, but what if there was a way to make your recycling even more efficient—and environmentally friendly? Enter worm composting, also known as vermiculture. Using worms to recycle organic waste at home not only reduces landfill waste but also produces nutrient-rich compost that can benefit your garden. Here’s how you can incorporate worms into your recycling routine and ensure they thrive.
What Is Vermiculture and Why Is It Beneficial?
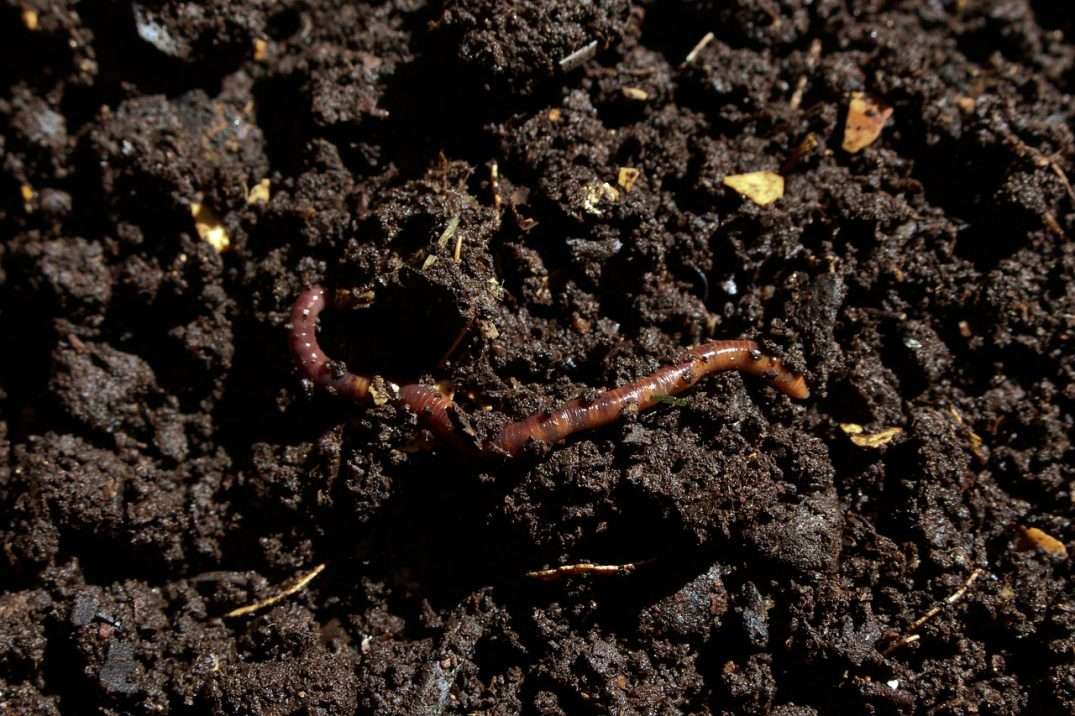
Vermiculture involves using worms, particularly red wigglers (Eisenia fetida), to break down organic waste into valuable compost. This process, often referred to as vermicomposting, transforms kitchen scraps, yard waste, and other organic materials into a rich soil amendment.
Key Benefits:
-
- Reduces Waste
Worms are efficient recyclers. They break down food scraps and other organic materials that would otherwise end up in the landfill. This reduces household waste by as much as 50%, decreasing your carbon footprint and helping to reduce the strain on waste management systems. - Creates Nutrient-Rich Compost
The compost produced by worms, often referred to as worm castings, is one of the most potent organic fertilizers available. Rich in nutrients like nitrogen, phosphorus, and potassium, this compost can improve soil quality, enhance plant growth, and promote healthier gardens. - Improves Soil Structure
Worms aerate the soil as they digest organic matter, which helps water and nutrients reach plant roots more efficiently. This leads to better root health, enhanced water retention, and reduced erosion. - Saves Money on Fertilizers
By producing your own worm castings, you can cut down on the need for store-bought fertilizers. Worm castings are slow-releasing and provide long-term benefits, making them a sustainable and cost-effective alternative. - Teaches Sustainable Practices
Having a worm bin is a great way to engage your family or community in sustainable living practices. It’s an educational tool that promotes awareness of food waste, composting, and eco-friendly alternatives.
- Reduces Waste
How to Set Up Your Worm Recycling System
Starting a worm composting system at home is easy, even for beginners. Here’s a step-by-step guide to setting up your own worm bin:
Step 1: Choose the Right Container
You’ll need a container to house your worms. A plastic or wooden bin with a lid works well, ideally with holes drilled for ventilation. The size will depend on how much organic waste you generate, but a typical home worm bin is around 60 to 80 liters (16 to 21 gallons). If you live in an apartment or unit you can also buy plastic worm farms, which have a number of layers, at your local hardware store along with a powder to apply to help regulate the pH and optimize growing conditions for worms.
These different layers or levels help you to remove the casting from the lower levels to use as a fertilizer either as a solid or as liquid. To use as a liquid take some castings depending on the size of your container and let soak for a while then you can pour on your plant. Make sure you remove any live worms first. Also in the castings are eggs which you can transfer to other spots to start new compost beds.
Step 2: Prepare the Bedding
Worms need bedding material that is moist and comfortable. Shredded newspaper, cardboard, and coconut coir work well. Fill the bottom of your bin with 6 to 10 inches of bedding. Moisten it with water to create a damp but not soggy environment.
Step 3: Add the Worms
The best worms for composting are red wigglers. You can purchase them online or from local gardening shops. Start with about 1 pound of worms for every 2 to 3 pounds of food waste you generate weekly.
Step 4: Feed the Worms
Worms eat organic food scraps, but not everything is suitable. Stick to fruit and vegetable scraps, coffee grounds, tea bags, crushed eggshells, and small amounts of paper or cardboard. Avoid citrus, dairy, meat, and oily foods, as these can harm your worms and cause unpleasant odors.
Step 5: Maintain the Bin
Keep the bin in a cool, dark place—like a garage or basement. The ideal temperature for worms is between 55°F and 77°F (13°C to 25°C). Every few weeks, gently stir the bedding to ensure that all food scraps are being consumed and that the environment is well-aerated.
Step 6: Harvest the Worm Castings
After about 3 to 6 months, the worm castings will be ready. You can harvest them by moving the bedding and worms to one side of the bin and adding fresh bedding to the other side. The worms will migrate to the new bedding, leaving the finished compost behind. You can use the castings in your garden or on your houseplants.
Caring for Your Worms
Caring for your worm composting system is relatively simple, but it does require some attention to detail:
- Moisture Control: The bedding should always be damp, but not soaking wet. If it’s too dry, add a little water. If it’s too wet, add dry bedding to absorb the excess moisture.
- Temperature Regulation: Worms are sensitive to extreme temperatures. Keep your bin away from direct sunlight, heat sources, or freezing temperatures. If it’s too hot or cold, the worms might become stressed or even die.
- Feeding Balance: Don’t overload your worms with food. Start with small amounts of scraps and gradually increase as the worms become accustomed to processing them. Overfeeding can lead to bad odors and attract pests.
- Pest Prevention: If you notice pests like fruit flies, reduce the amount of wet food you’re adding, and make sure the bin is covered properly. You can also bury the food scraps under the bedding to keep pests away.
Conclusion
Incorporating worms into your recycling system is an easy and eco-friendly way to manage waste and create nutrient-rich compost for your garden. Not only will you reduce your household’s environmental impact, but you’ll also improve your garden’s soil health and grow more vibrant plants. By setting up and maintaining a worm bin, you can be part of a growing movement towards sustainable living, all while caring for your worms and reaping the benefits they provide.
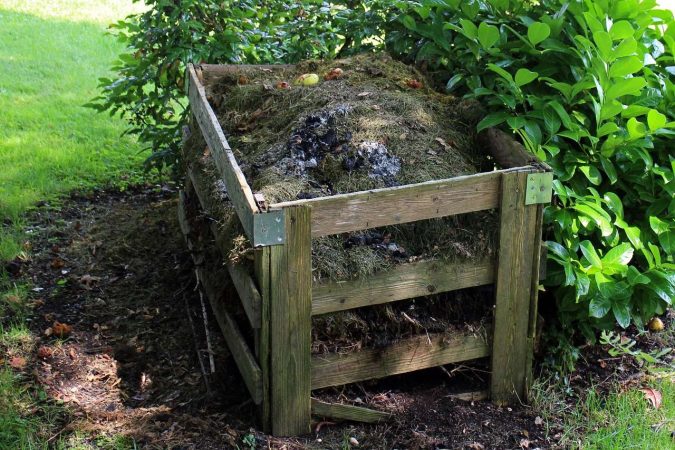
compost bin
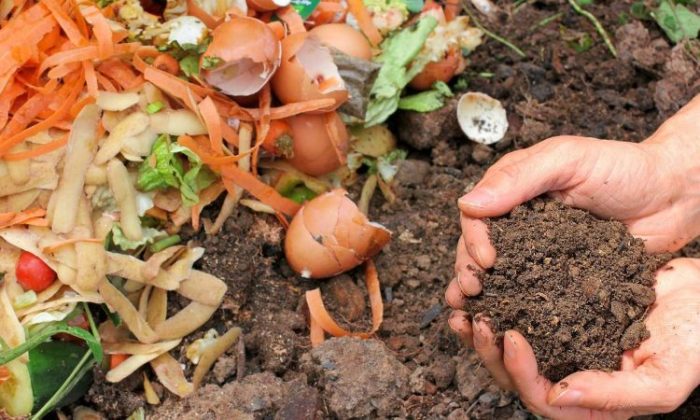
composting food scraps